Elevating the art of flight with high-performance Balsa Glider models. From South Africa!
Simply NAKED - Build Guide
Main Wing
Center Panal
3.
Install the 6MM balsa Flap-Wing (install First) & Flap-LE (install Second) this is a tight fitting part, Be patent, Take note of the angle from the side ensure its seated correctly, by sliding your finger up and down the part with light pressure.Install wing TE 1.5MM ply Last.
Note: Mark ribs MR1/ML1 and MR27/ML27 with some painters tape
"NO GLUE"
Glue with template tool,Future steps to come.

2.
Carefully place ribs onto the jig, The rib feet can easily be snapped off, MR2/ML2 Keep aside you will install at a latter stage.
Ensure all half ribs are in place and upside down as per main ribs. you should see all rib markings in the correct order viewed from the side,
Note:Don't glue anything yet!!

1.
Start with the Main wing
Place main wing Jig on a flat surface.
Organise all RH/LH wing parts
Slide all ribs and half ribs onto 10x9x500MM carbon tube.
TIP: Place the spar on the jig and mark location of ribs with a white marker for spacing. helps with rib placement when fitting to wing jig.
NOTE: Don't forget to include the servo tray - can't be installed afterwards.
All markings and numbers should be seen from abouve for correct placement.Remember to flip jig over for opposite wing half.


5.
CA the solid 1.8MM LE to the main ribs only!
Then use the Main wing Half rib template to align the half ribs & CA in place.
Note: CA LE with 3mm over hang from rib MR1/ML1 see red arrow.


4.
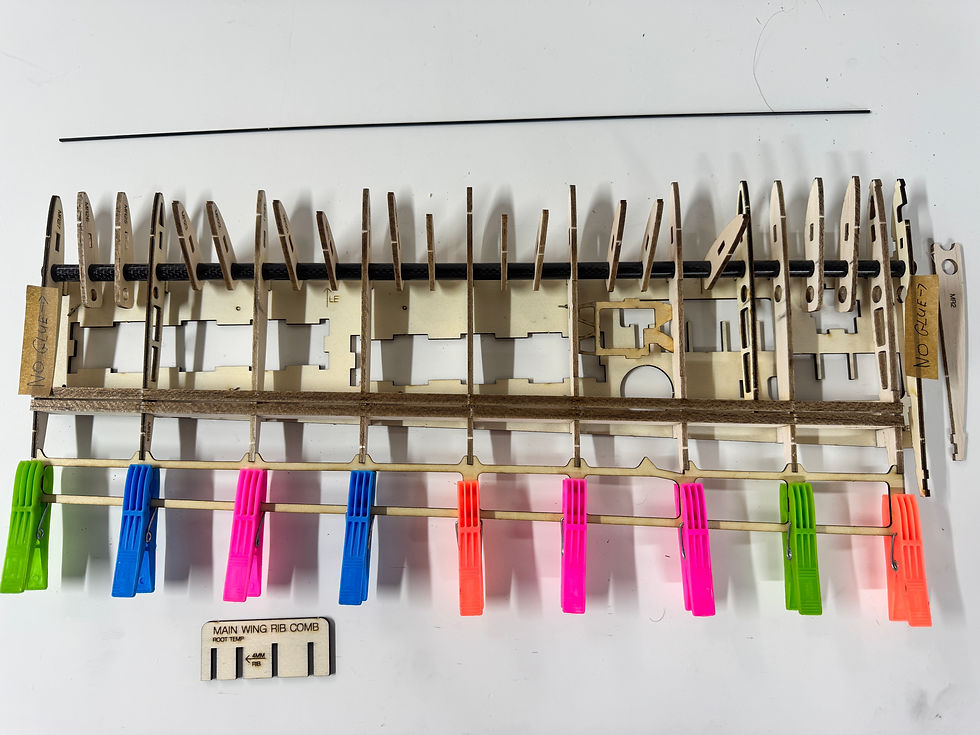
Glue the 6mm Balsa Flap-Wing / Flap-LE with CA
(don't glue first & last rib).
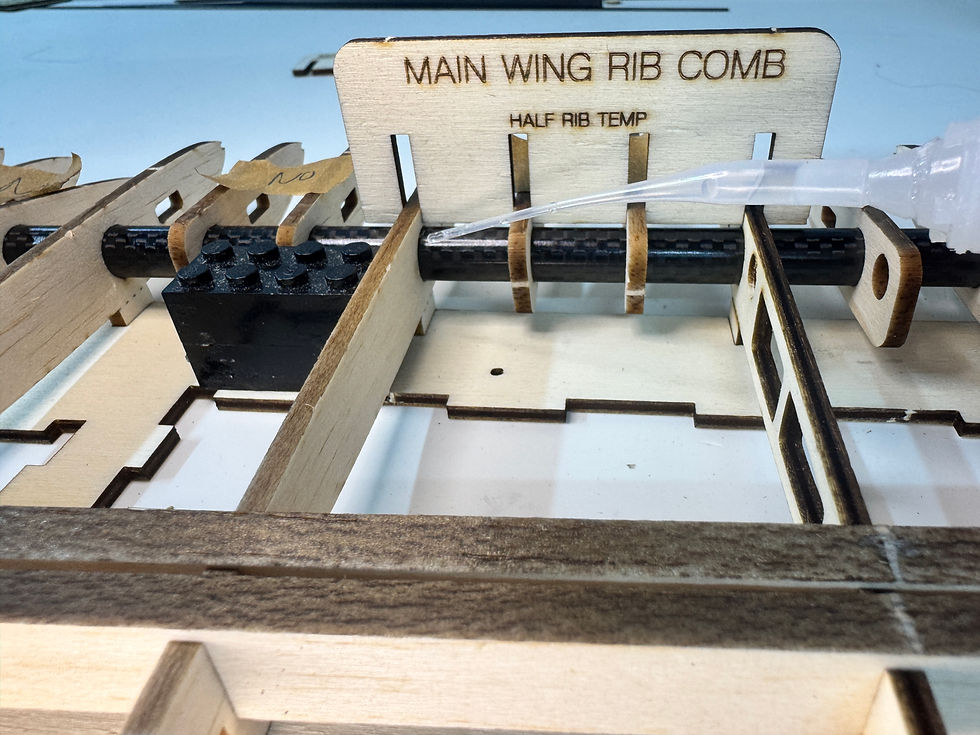
Use the Main wing rib Comb to ensure the main ribs are aligned then CA to main spar tube. CA the Servo tray. CA the 1.5mm ply TE - (don't glue first & last rib)
Tip: Use a steal Ruler with soft clamping pegs for a straight TE.
use a Lego block - place next to rib to ensure rib is 90deg upright.

8.
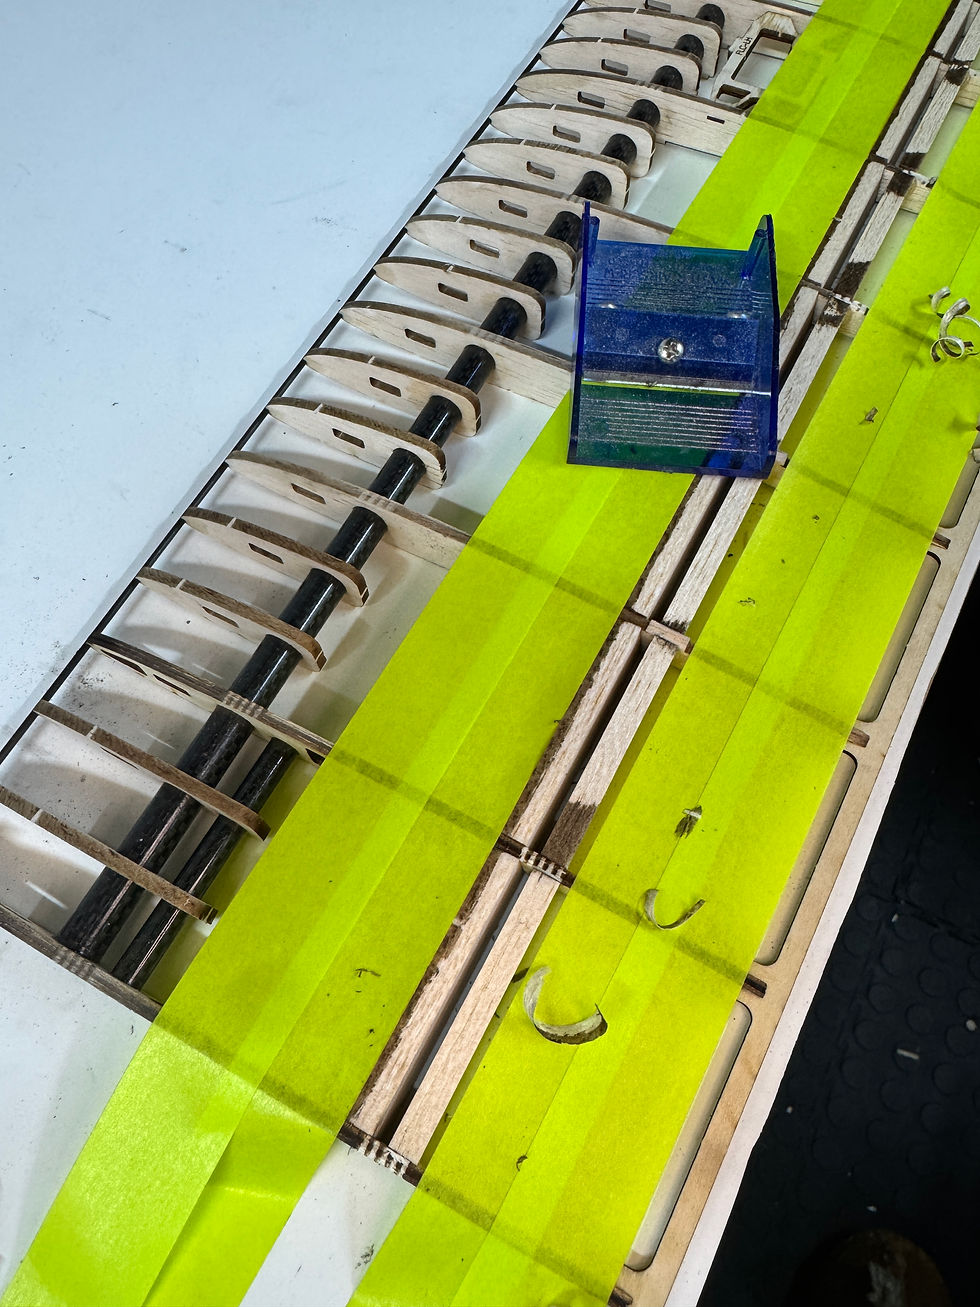
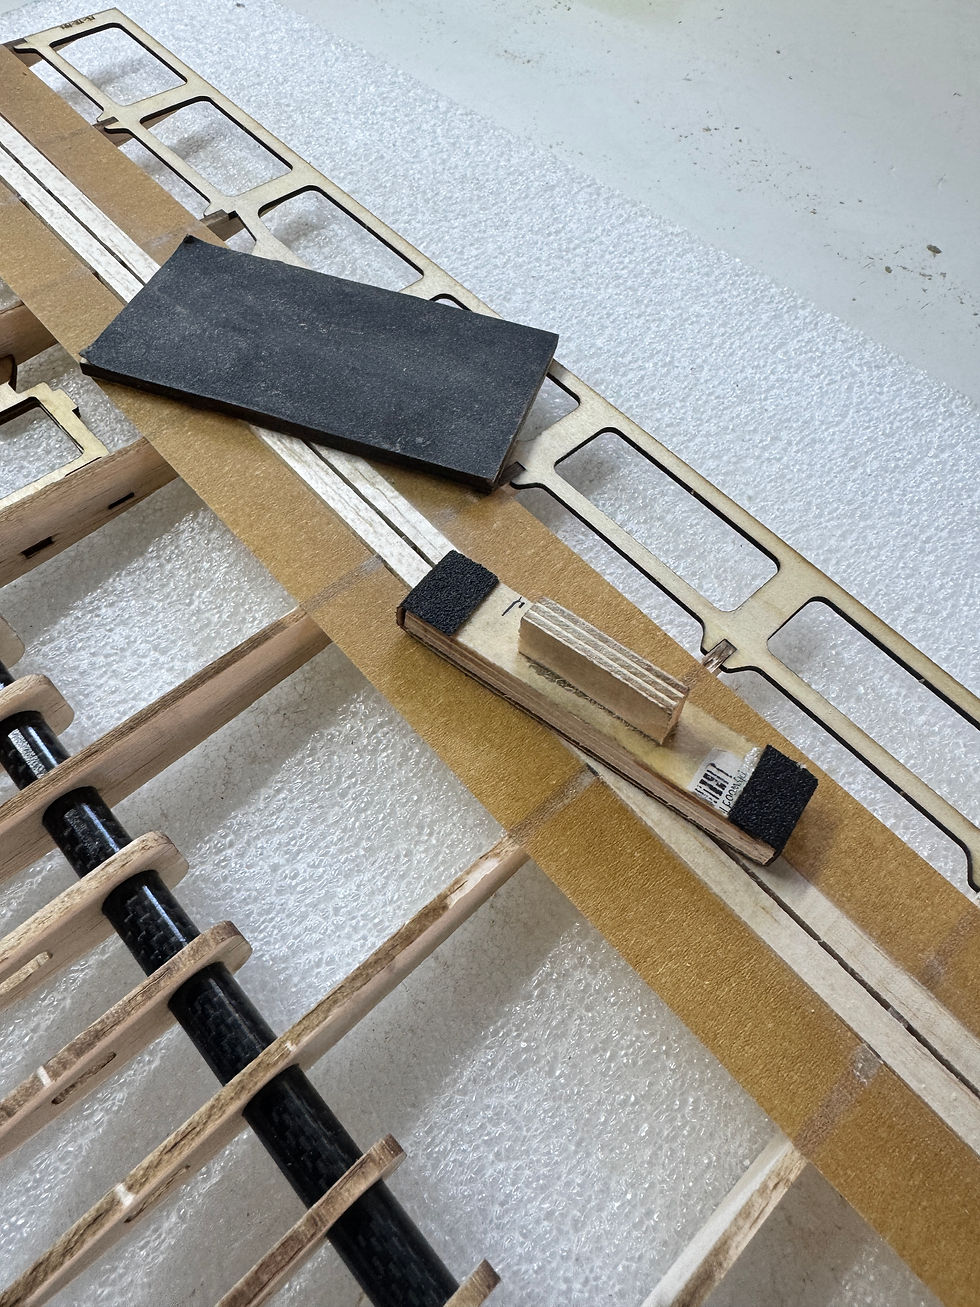
Remove wing tabs, Place wing on a soft surface for sanding. foam block works well.
don't be shy with painters tape. we don't want the ribs to be sanded, Tape flush with 6mm balsa spar area, sand with 80 grit.
mini sander provided in kit take your time doing this step.
Note: Wood planer not necessary.
7.
Install the 7x6MM Plan weave Carbon tube. Into rib MR24 to MR27 & ML24 to ML27
CA in place cut in half, keep off-cut for opposite wing half.
Tape Rib face with painters tape, Sand down the 6mm balsa/10mm CF tube / 7mm CF Tube flush with rib face.


6.
Remove The wing from Jig.
Use the 6 deg template for Rib's ML27/MR2. Insert from below wing.
CA rib in place remove template, The 6mm Balsa Spar has pre-cut 6 deg built in.


NOTE:
Remove MR1/ML1 keep one side for now.

TIP: Don't CA LE as Yet, do this when you align outer panel to main panel - steps to follow ahed.

11.
Wood Glue - MR2 & ML2 to MR3 & ML3


10.
Build opposite wing half - Remember to flip wing jig.
once you have completed steps 1-10 for both main wing halves,
we will now prep for wing joining.
Parts needed:
- 10x8.1mm UNI Directional CF Tube Cut to 205mm
- XX
- BB
- MR1 / ML1
- MR2 / ML2
Wood Glue & Med CA
9.
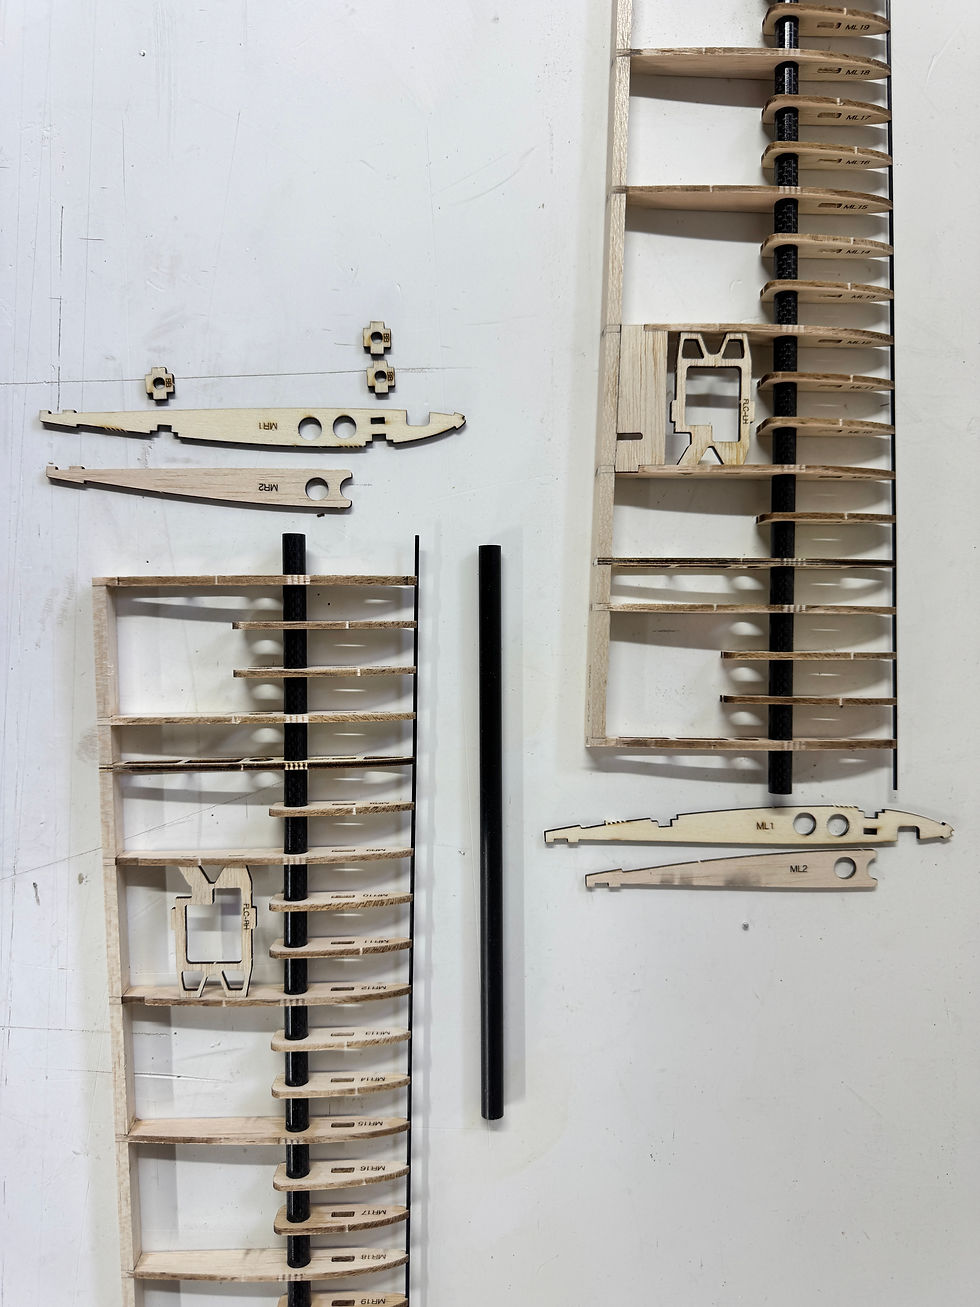
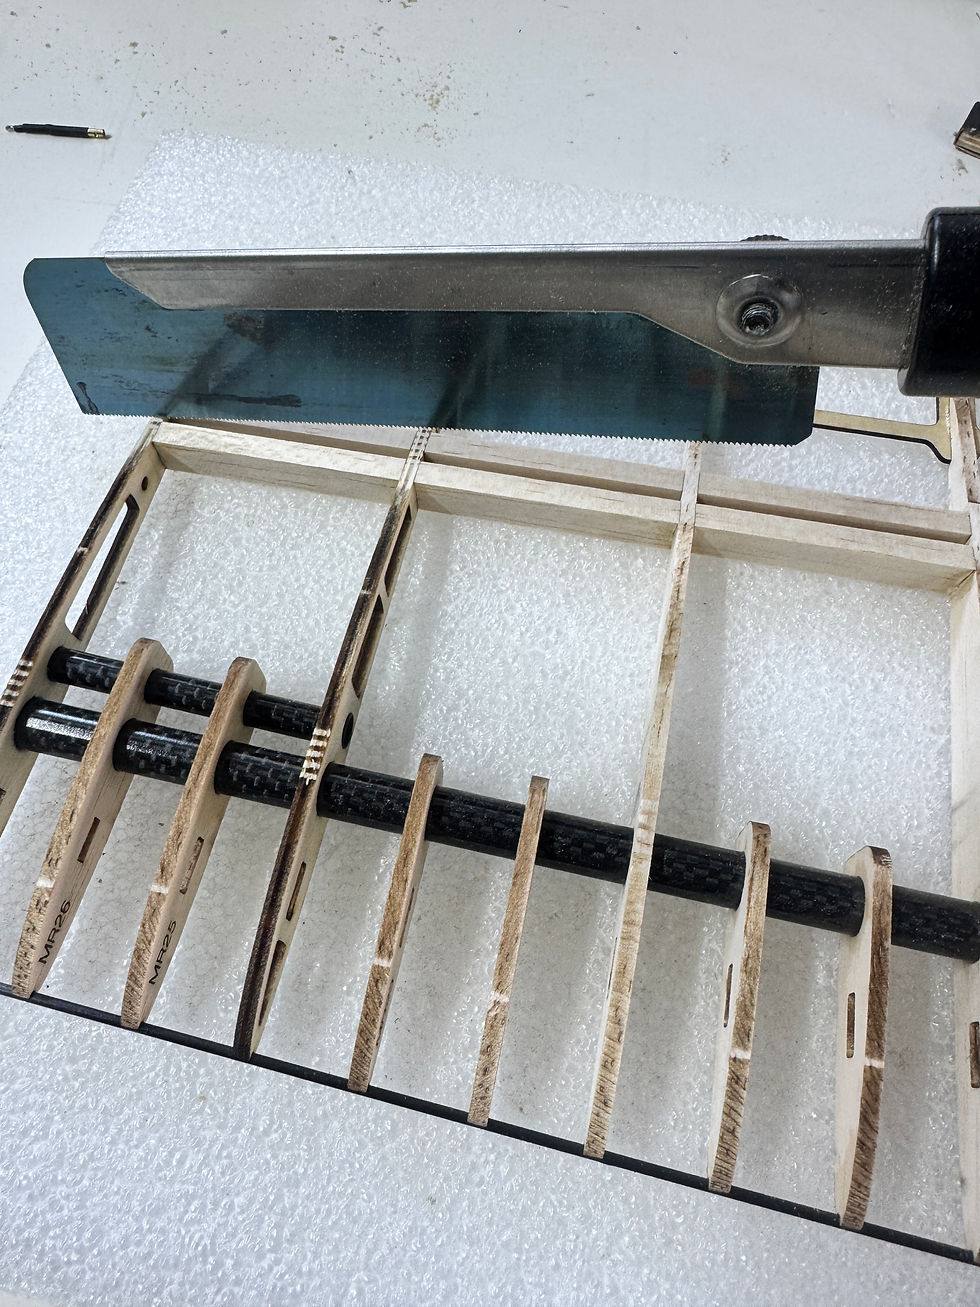
Carefully cut flap away from main wing.with fine saw. sand both surfaces flush with a large sanding block.

13.
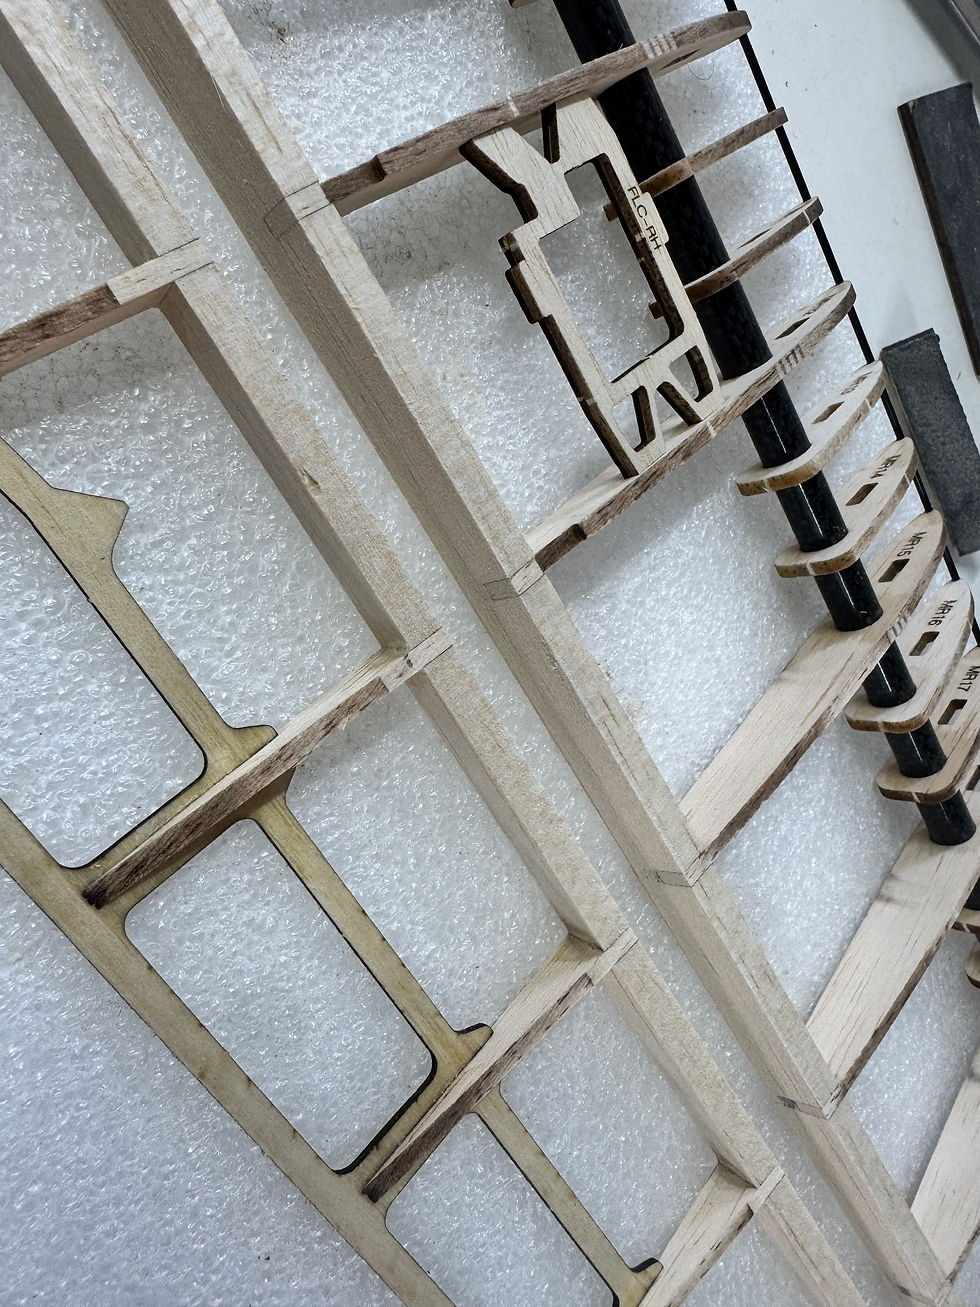
Once both wing half's are ready lets join the wing.
Use the 3mm ply "BB" and 10x81.mm CF tube


12.
CA Rib MR1/MR2, With 2deg template tool, insert from below,Don't cut 3mm Le over hang.
Tip: Use "BAK" as a rib alignment tool don't glue it yet. will be done during wing joinning.

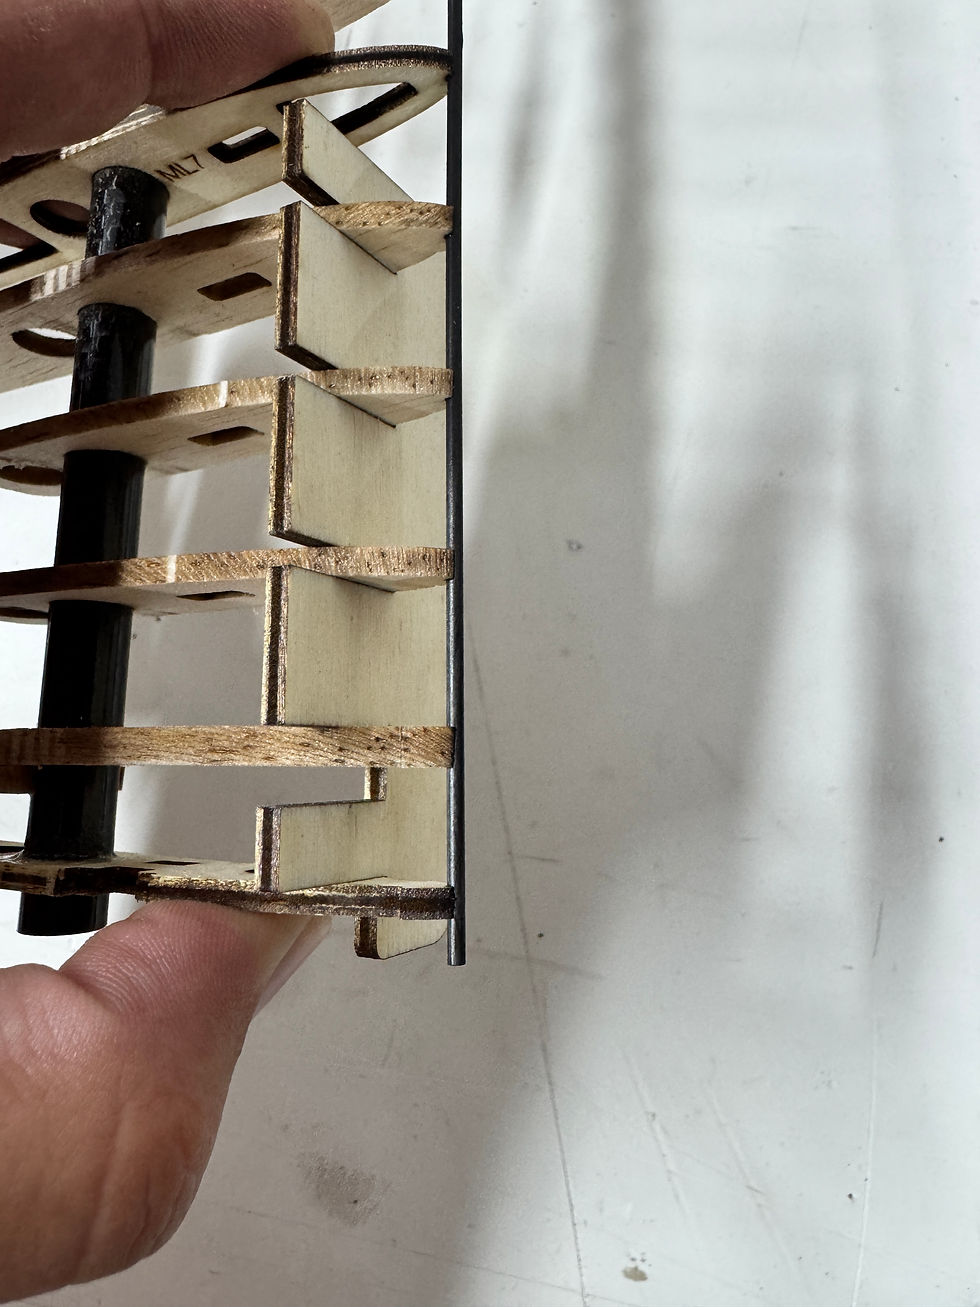
16.
Glue wing sheeting with Wood glue.
Z1 - Z3 Below
C1 - C3 Above
Install "BAK" and sand Flush, sand down protruding ribs behind "BAK"
15.
Glue wing sheeting with Wood glue.
Z1 - Z3 Below
C1 - C3 Above
Install "BAK" and sand Flush, sand down protruding ribs behind "BAK"


14.
Before you CA in. place alight the LE, Then CA
Install "XX" 1.5mm ply onto "BB"